Official Site® | Trezor.io/start® – Trezor (Getting Started Guide)
Official Site® | Trezor.io/start® – Trezor Hardware Wallet Setup Guide
Welcome to the Official Site® Trezor.io/start®, your secure and trusted destination for setting up, initializing, and safeguarding your Trezor hardware wallet. Whether you're using the Trezor Model One or the advanced Trezor Model T, this guide walks you through every step of the process — from unboxing to backup creation, security configuration, crypto transfers, and long-term protection of your digital assets.
Trezor has long been recognized as a pioneer in the world of cryptocurrency security. As the world’s first hardware wallet, it introduced the concept of storing private keys offline, away from internet-connected devices that are vulnerable to hacking, phishing, malware, and exchange failures. Today, Trezor continues to lead the industry with open-source security, transparent technology, and world-class protection for both beginners and experienced investors.
This detailed resource provides everything you need to get started smoothly and safely through the official onboarding path: Trezor.io/start®.
1. Introduction to Trezor.io/start®
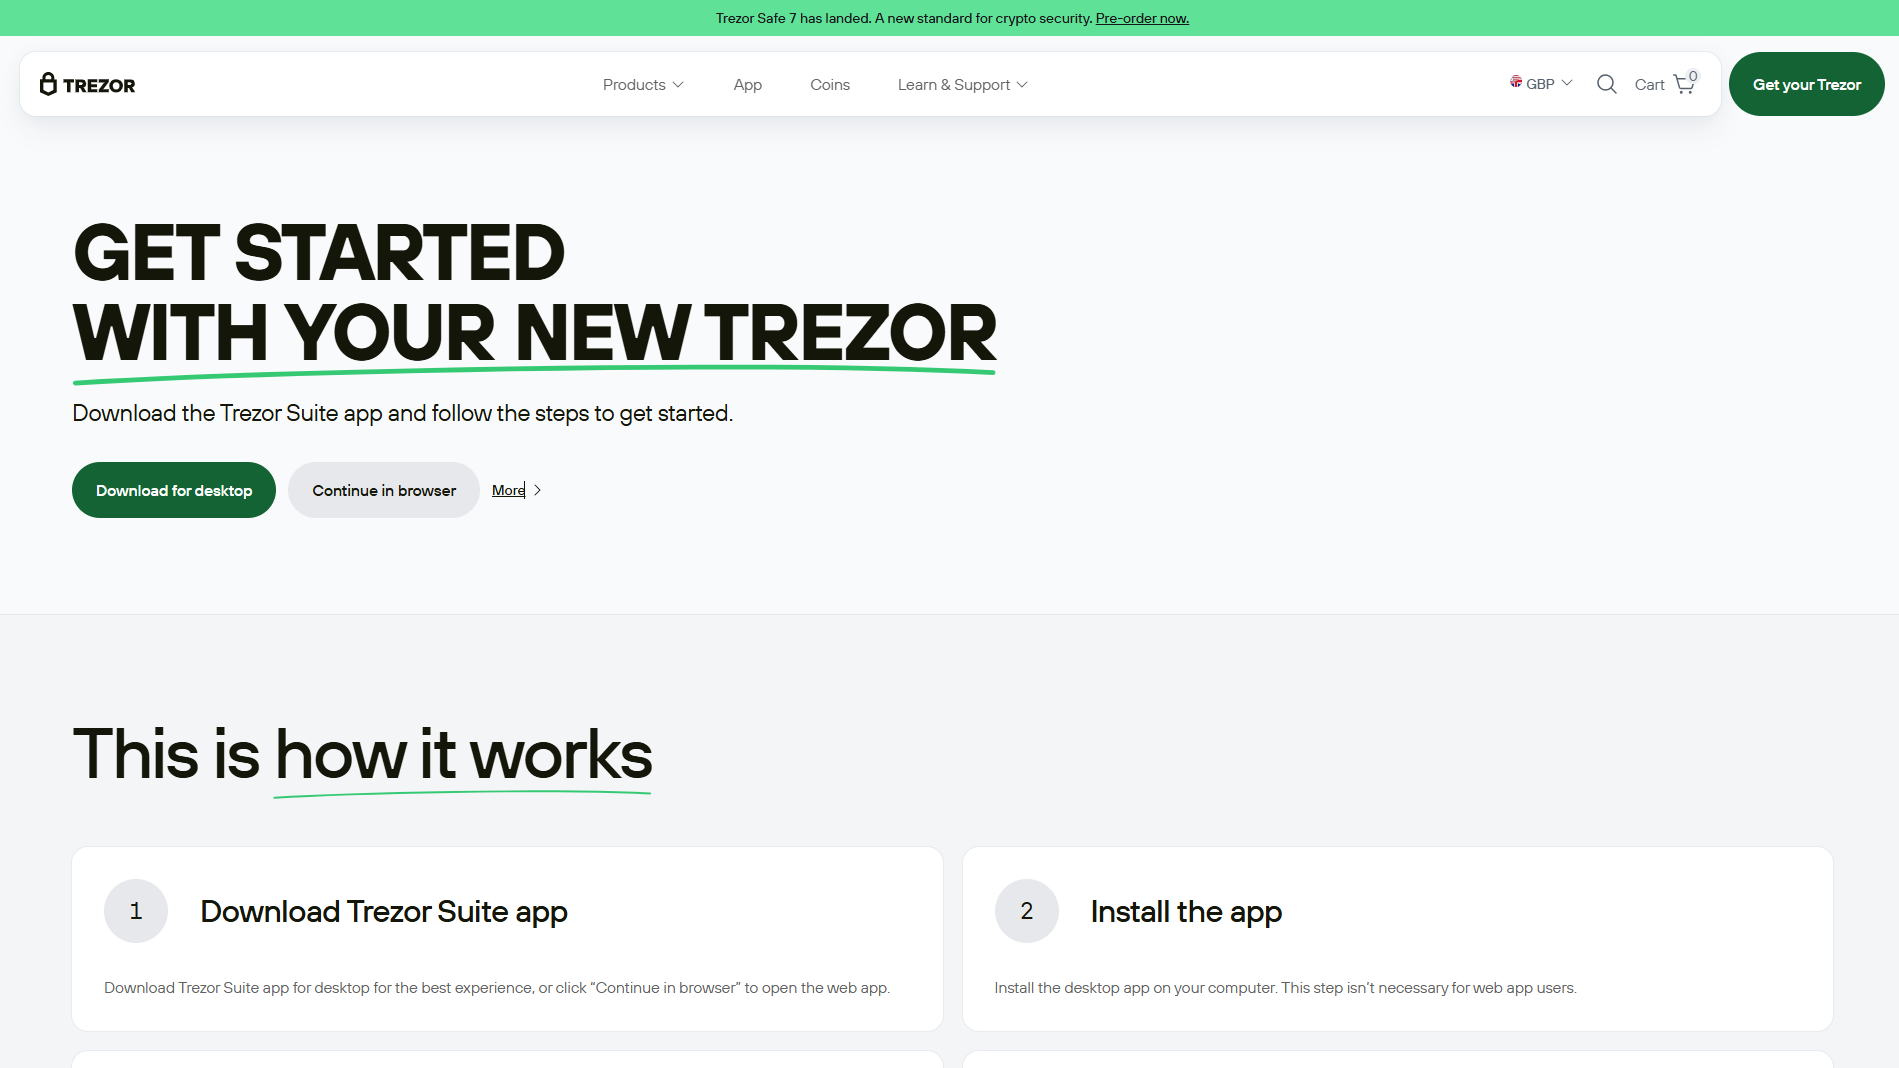
Trezor.io/start® is the official and only recommended setup gateway for Trezor devices. It ensures safe initialization, minimizes security risks, and guarantees you’re using verified firmware and authentic software.
Through this page, you can:
Download the official Trezor Suite
Install or update firmware
Initialize a new wallet
Create secure backups
Learn best practices for crypto protection
Access authentic support resources
Using unofficial websites can expose you to phishing attacks or fraudulent software. Always begin your setup using the official Trezor link to ensure full security.
2. Unboxing Your Trezor: What to Expect
Before getting started, inspect your Trezor packaging to ensure you have received a genuine and untampered device. Both Trezor Model One and Model T include essential security indicators designed to prevent supply-chain attacks.
Your Trezor box typically includes:
Trezor hardware device
USB cable (USB-C for Model T, Micro-USB for Model One)
Recovery seed cards (for writing your seed phrase)
Instruction booklet
Stickers and accessories (varies by model)
Magnetic dock (Trezor Model T only)
Checking for Tampering
Trezor Model One packaging includes a holographic security seal. If this seal is damaged, removed, or looks suspicious, do not use the device.
Trezor Model T boxes use tamper-evident features built into the packaging.
If something appears unusual, contact Trezor Support immediately.
3. Step One — Visit Official Site® Trezor.io/start®
Once your device is confirmed genuine, plug it into your computer using the provided USB cable.
Open your browser and type:
Trezor.io/start®
This validates the authenticity of the setup process and protects you from phishing scams. The page will direct you to download Trezor Suite, the secure desktop application used to manage your crypto.
4. Step Two — Download and Install Trezor Suite
Trezor Suite is available for:
Windows
macOS
Linux
It offers a clean, user-friendly interface designed to manage all your crypto needs from a single dashboard.
Trezor Suite Features Include:
Secure offline transactions
Portfolio tracking
Privacy tools including Tor integration
Support for Bitcoin, Ethereum, ERC-20 tokens, Litecoin, and more
Coin management and labeling
Multiple wallet profiles
Hidden wallets via passphrases
Advanced settings for experienced users
After installation, launch Trezor Suite and connect your Trezor device. If firmware is required, you will be guided through the installation process.
5. Step Three — Installing Latest Firmware
All newly purchased Trezor devices require firmware installation to guarantee authenticity. Firmware ensures your device:
Is registered as genuine
Has the latest security protocols
Operates safely and correctly
Is protected from known vulnerabilities
Follow the on-screen instructions in Trezor Suite to complete the firmware installation. Keep your device connected and do not interrupt the process.
Once complete, restart the device when prompted.
6. Step Four — Create a New Wallet
After firmware installation, select Create New Wallet inside Trezor Suite.
The device will then generate your Recovery Seed, which is the single most important component of the entire setup process.
What Is a Recovery Seed?
Your recovery seed is a list of 12, 18, or 24 unique words.
This phrase acts as the master key to your wallet and all associated assets.
If your device is:
Lost
Stolen
Damaged
Reset
Wiped
You can restore your entire wallet using this seed phrase.
Critical Warning
Your recovery seed must never be:
Photographed
Stored on a computer or mobile device
Typed online
Shared with anyone
Entered into any website
Saved in cloud storage
Anyone who sees your seed words can steal your crypto — permanently and anonymously.
Write the seed on your provided recovery card and store it safely offline.
7. Step Five — Confirm Your Recovery Seed
After writing down your seed words, the device will ask you to confirm the correct order.
This verifies that you recorded it accurately.
Double-check your handwriting and spelling.
Take your time — this is your ultimate backup and cannot be changed later.
Once complete, your wallet setup will proceed to the next stage.
8. Step Six — Set Your Device PIN
Your Trezor PIN protects your device from unauthorized physical access. Every time you connect your device, the correct PIN must be entered.
PIN Security Tips
Use a 4–6 digit PIN (or more if desired)
Avoid predictable combinations
Don’t reuse PINs from other devices
Keep your PIN confidential
Trezor devices use a security delay for incorrect attempts. Each failed attempt exponentially increases the time before another try is allowed, making brute-force attacks mathematically impossible.
9. Exploring Trezor Suite (Full Tour)
After securing your device with a PIN, Trezor Suite becomes your primary hub for managing your digital assets.
Key Sections Inside Trezor Suite:
Dashboard
Shows portfolio value, recent activity, and device status.
Accounts
Organize each cryptocurrency into separate accounts for ease of use.
Send
Initiate outgoing transactions with secure physical confirmation.
Receive
Generate verified receiving addresses that appear on your device’s screen.
Trade / Buy / Exchange
Integrated services that allow you to buy, sell, and swap crypto safely.
Settings
Manage advanced preferences, security features, and privacy options, including Tor.
Labels & Metadata
Organize transactions with encrypted labels stored locally or privately synced.
Trezor Suite is designed to combine simplicity with powerful security and customization options.
10. How to Receive Cryptocurrency
To receive funds:
Open Trezor Suite
Select the relevant account
Click Receive
Generate a receiving address
Verify the address on your Trezor device screen
Share the address with sender
Always confirm the address on your physical device.
This protects you from malware that might try to substitute a fraudulent address.
11. How to Send Cryptocurrency
To send crypto safely:
Go to the Send tab in Trezor Suite
Enter the recipient’s address
Choose the amount
Select a transaction fee (low / medium / high)
Physically confirm the transaction on your Trezor device
The requirement for physical confirmation ensures that no transaction can ever be sent without your approval.
12. Advanced Security Settings
Passphrase Protection
Adds an extra custom word to your recovery seed, creating hidden wallets.
Benefits:
Adds a second layer of protection
Protects assets even if someone obtains your seed phrase
Allows creation of multiple independent wallets
Shamir Backup (Model T Only)
A sophisticated backup technique where your seed is split into multiple shares.
Example:
Split into 5 shares
Require 3 to restore
This increases redundancy and protection against single-point backup failure.
Tor Integration
Route traffic through Tor for enhanced privacy and anonymity.
13. Long-Term Security Best Practices
To keep your assets safe, always follow these recommendations:
Never share your seed phrase
Store seed words in offline, secure, fireproof containers
Keep your Trezor firmware updated
Always verify URLs
Avoid entering your seed anywhere online
Do not trust “Trezor Support” over email or social media
Use a strong device PIN
Consider passphrase protection for large holdings
Keep device and seed stored separately
Use metal seed backups for long-term durability
Remember: You are your own bank. Protect your keys.
14. Troubleshooting Tips
Device Not Recognized
Try another USB cable
Use a different port
Restart Trezor Suite
Update firmware
PIN Locked
Wait for the timeout period
Try again carefully
Firmware Update Failed
Reconnect device
Restart internet connection
Reinstall Trezor Suite
Seed Lost
If you lose your recovery seed, Trezor cannot restore it for you.
This is why careful backup management is essential.
15. Why Choose Trezor?
Trezor offers several advantages over exchange wallets, mobile applications, and software wallets:
Your private keys never leave the device
Open-source transparency
Audited security architecture
Offline transaction signing
Physical confirmation requirement
Protection from phishing and malware
Support for thousands of coins and tokens
Simple, intuitive interface
Trezor empowers you with complete financial control — securely and independently.
16. Final Thoughts — Start Your Crypto Security Journey Today
The Official Site® Trezor.io/start® is your trusted and secure launching point for safeguarding your cryptocurrency investments. By following the steps outlined in this comprehensive guide—setting up your device, securing your seed, configuring your PIN, exploring Trezor Suite, and practicing long-term security—you are taking the most important step toward true financial sovereignty.
A hardware wallet is not just a device — it is your personal digital safe, designed to store your crypto securely for years to come.